Adding a new user to the Perfect Diet Tracker is easy. There is no limit to the number of users that can track their diet with the software.
The steps below will take you through the setup of a new user step by step.
Click the ‘New user’ button
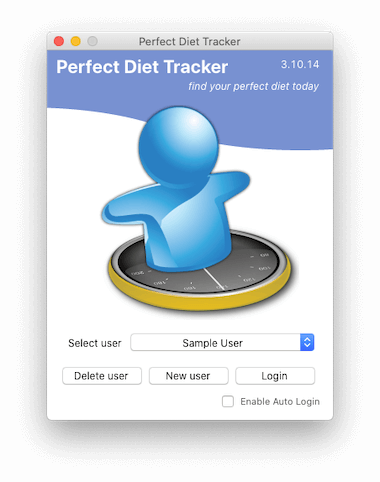
Start by clicking the ‘New user’ button on the login screen.
If it is the first time you have used the software and there are no current users in the system the diet tracker will automatically select this option for you.
Add your login details
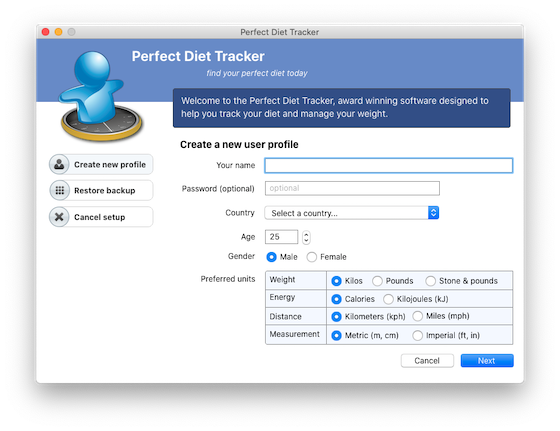
The information requested includes
- Your name, this will be the name that is shown on the front login screen so you can enter your real name or nickname.
- A password is optional and can be added to hide your diary entries from other users on this computer.
- The software needs to know where you live so it can use the appropriate food database.
- The software needs to know your age, gender and the measurement units you prefer to work with.
If you want to cancel the user setup you can select the cancel setup button on the left at any stage.
Once you have entered the initial information, click the ‘Next’ button (6) to continue.
Enter your height and weight
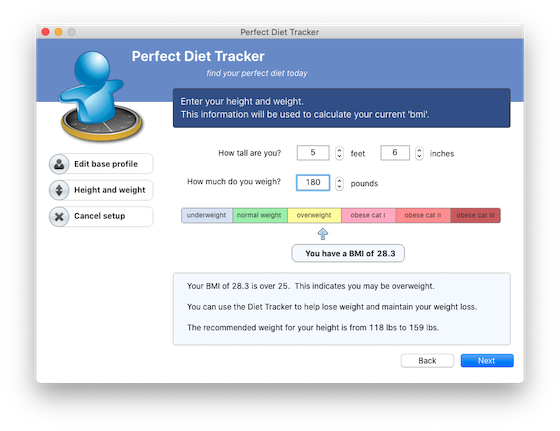
The units used to enter your height and weight will match your entry in step 1, so if you have selected ‘Kilos’ or ‘Stones and Pounds’ your screen may look slightly different.
As you adjust the height and weight entries, your current ‘BMI’ will be shown in the window. This will indicate your current weight classification and the recommended weight range for your height.
It is recommended you enter a target that is achievable within a few weeks or months, you can adjust the target later.
When you are happy with your entries click the ‘Next’ button to continue.
Calculate the calories or enter your own?
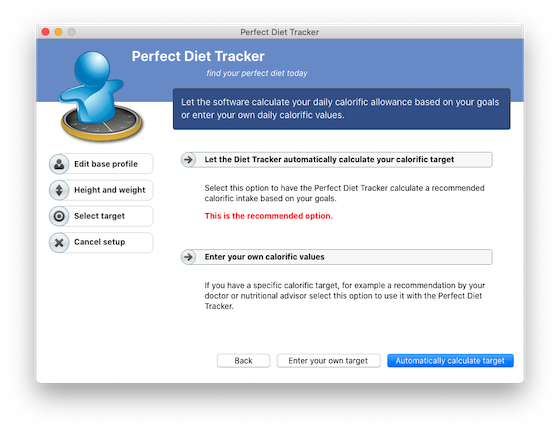
Unless your doctor or nutritional advisor has provided a specific calorific target we recommend you select option 1 and let the diet tracker calculate the calorific targets for you.
Click on the arrow next to (1) or on the ‘Automatically calculate target’ button to continue.
How much weight would you like to lose and how active are you?
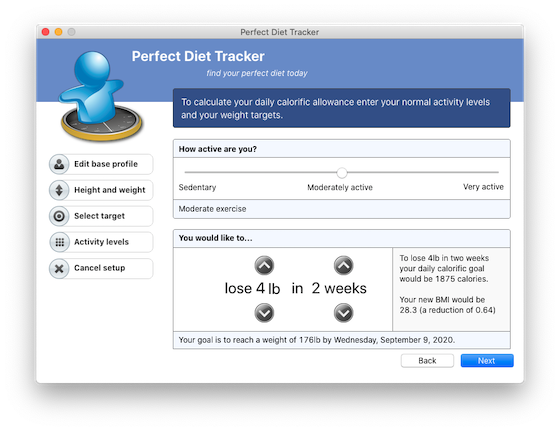
Use the slider bar to adjust your activity level, and the arrows to adjust your target weight loss, then click the ‘Next’ button to continue.
When setting an activity level, be honest.
Do not set it higher than your current activity level on the basis that you intend to do more exercise later. If you set it honestly you can add additional exercise in later using the daily dairy.
Most users naturally simply select the fastest possible loss or gain, however you should consider selecting an intermediate setting if you find the daily calorific figure is too low as it will increase your daily calorific allowance.
What would you like the software to display in the diary?
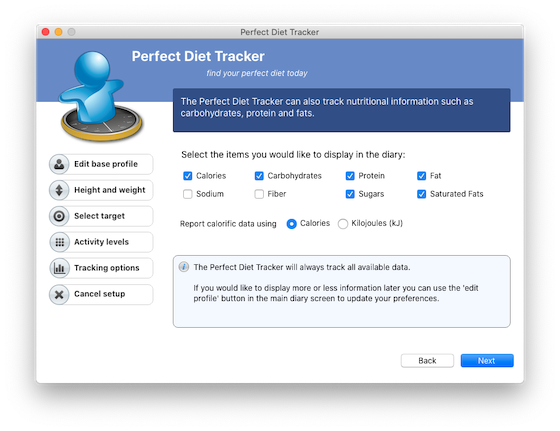
The software will always track all available data and you can change these options using the diary later. We recommend you start with the default selections to avoid ‘information overload’ at first, then enable or disable options later to suit your requirements.
You can also select either calories or kilojoules for the calorific data reports and tracking to suit your requirements and the units used in your country, for example, a user in the USA or UK would normally select ‘Calories’, whereas as Australian user may prefer to select ‘Kilojoules’. This setting can also be changed later.
Once you are happy with your selections click ‘Next’ to continue to the final step.
The final review
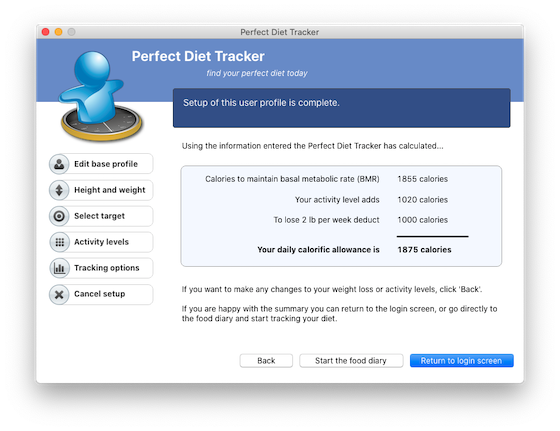
This will be shown, with a breakdown of how the figure has been arrived at.
If you find the calorific target too high or low, you can use the ‘Back’ button to return to the previous step and adjust your activity level or target weight loss. Selecting a lower target weight loss will increase the calories you have available.
When you are happy with the settings and calorific target you have two options. You can either start the food diary straight away or return to the login screen.
Congratulations, you now have a new user and can start tracking your diet.